By Robert R.
Property owners updating their interior living layouts across the United States regularly find that crisp, flawless baseboards, casings, and crown moldings tie a room together, leading them to search for how to paint trim like a pro. The definitive technical answer is that professional-grade trim painting requires a systematic, multi-step sequence of mechanical scuff sanding, complete dust extraction, elastomeric gap caulking, stain-blocking priming, and the careful manual application of premium self-leveling urethane acrylic enamels using a chiseled synthetic angled sash brush. Attempting to slap thick, standard retail latex wall paint onto high-contact wooden moldings with a cheap, blunt utility brush results in an immediately botched project, marked by permanent, deep brush tracking, sticky doors that fuse to their frames, and paint film that easily chips away down to the raw wood. For residential properties located throughout the varied real estate markets of the United States, mastering a controlled trim coating workflow creates factory-smooth edges that frame your walls beautifully and drive substantial increases in final real estate evaluations.
Overview
Achieving a high-end, mirror-smooth finish on interior trim requires a solid understanding of fluid leveling mechanics, mechanical profile adhesion, and wet-film thickness limits rather than a reliance on masking tape alone. Trim profiles, window sills, and door jambs endure continuous physical impact, harsh scrubbing detergents, vacuum cleaner bumps, and natural building contractions. Standard latex wall paints lack the molecular density and surface hardness to withstand this constant mechanical friction. Throughout the diverse geographic territories of the United States, home interiors deal with unique structural demands. For example, homes in high-humidity coastal zones require non-softening enamels that reject surface mildew, northern properties face dry winter indoor air cycles that require longer wet-edge manipulation, and historic architectural styles feature intricate, multi-tiered wood moldings that demand precise material application to prevent heavy runs. Below, we break down the exact tool setups, preparation standards, and master application steps required to paint your trim with absolute precision.
Quick Reference Trim Painting Checklist
- Mechanical Profile Sanding: Scuff sand all wood moldings systematically with 220-grit sandpaper to break old glossy clear coats and give your new primer an excellent grip.
- Elastomeric Seamless Caulking: Fill every open joint line between the wood trim and the drywall with premium elastomeric acrylic caulk to prevent dark shadows and structural gaps.
- Tapered Angled Sash Brushes: Use a high-quality 2.5-inch chiseled nylon-polyester blend angled brush to maintain clean, sharp cut lines and crisp edge control.
- Stain-Blocking Foundation Sealers: Apply an oil-based or high-hide synthetic primer over bare wood or old oil-based trim to block wood tannins from bleeding through.
- Dual-Pass Enamel Layering: Lay down two separate, thin coats of a specialized urethane acrylic enamel, allowing full curing times between passes to build a chip-resistant shield.
What Surface Preparation Steps Eliminate Trim Paint Chipping?
Why Do Household Contaminants Block New Coating Adhesion?
The primary reason interior trim paint flakes off in long strips within the first few months is poor surface decontamination. Baseboards and door casings sit at floor level where they easily collect an invisible layer of floor wax residues, household dust, pet dander, shoe grease, and alkaline detergent films from routine mopping.
If you roll or brush a fresh coat of paint directly over these hidden grease barriers, the liquid paint cannot form a true bond with the underlying material. The wet coating will dry on top of the grease layer as a floating, brittle plastic sheet. The moment a vacuum cleaner bumps the baseboard or a shoe scuffs the casing, the paint film will tear and peel away. To build a permanent bond, you must strip away these oily barriers down to a chemically clean substrate.
What Is the Technical Execution Checklist for Trim Decontamination?
Professional painting crews never skip a deep wash phase, and they bypass generic household spray cleaners, which can leave behind slick silicone skins. Instead, technicians follow a strict multi-pass process:
First, scrub all wooden components thoroughly with a solution of trisodium phosphate substitute mixed with hot water. Use a heavy-duty abrasive nylon scrubbing pad to work the solution into detail channels and tight corner joints where dust and wax pack together tightly.
Second, wipe down the entire molding profile with a clean sponge saturated in fresh, clear water to lift away the loosened grease and residual cleaner chemicals.
Finally, allow the wood to dry completely for a minimum of twelve hours before starting your sanding work.
Why Is Full Mechanical Sanding Mandatory for Woodwork?
How Scuff Sanding Breaks Slick Factory Gloss Membranes
Once your wood trim is completely clean and dry, the next phase is mechanical surface abrasion. Many DIY homeowners skip this phase, believing that sanding is only necessary if the wood is rough or damaged. This mistake leads to rapid paint failure.
Existing interior trim work is typically finished with a high-gloss factory clear coat or a hard, traditional oil enamel designed to repel moisture and dirt. This glass-smooth surface offers zero traction for a new coat of paint.
When a slick existing gloss finish meets a sanding bypass configuration, the new paint fails to find mechanical traction, causing the brittle top layer to chip off easily under normal usage friction. Running 220-grit aluminum oxide sandpaper systematically over every square inch of the wood trim breaks this slick outer skin. Sanding cuts thousands of microscopic, jagged grooves into the old finish without destroying the shape of the molding. This profile abrasion creates a fine texture that lets your new primer lock onto the wood securely, an essential step detailed in our master manual on can you use old paint.
Executing Total Dust Extraction Profiles Prior to Painting
Sanding your trim moldings creates a large volume of fine, lightweight white dust that quickly settles back into the deep corners of your baseboards and casings. This dust poses a serious threat to your final finish appearance. If you brush your primer directly over a dusty molding, the wet paint will trap the loose dust particles, mixing them into the film.
As the paint dries, the dust will absorb the liquid binders, leaving a rough, gritty texture that looks unpolished and ruins the sheen consistency. Furthermore, the paint film will be highly prone to chipping because the dust layer prevents the primer from anchoring to the wood. After finishing your sanding pass, use a heavy-duty vacuum equipped with a HEPA filter and a soft brush attachment to clear the trim junctions completely. Follow this by wiping down every linear foot of the molding with a damp microfiber towel or a sticky tack cloth to capture every last bit of loose dust before opening your primer cans.
How Do You Achieve Seamless, Crack-Free Trim Joints?
Why Empty Gaps and Open Seams Ruin Your Final Aesthetics
Even the smoothest paint application will look unpolished if your baseboards and door casings feature dark, empty gaps along the walls or open miters at the corners. Trim boards are long pieces of wood attached to irregular drywall framing, which naturally leaves gaps and seams.
If you paint right over these open joints without filling them, light coming through your windows will strike the open cracks, casting dark shadow lines across your woodwork. These shadows make your entire room renovation look unfinished and highlight structural flaws.
When an open wood-to-drywall joint encounters water vapor penetration, the wood continually swells and shrinks, forcing the un-filled paint layer over the gap to crack apart rapidly. Furthermore, an unsealed trim joint allows ambient indoor water vapor to slip behind the wood framing. As seasonal humidity shifts across the United States, the wood will absorb this moisture, swelling during humid summer months and shrinking during dry winter heating periods. This constant movement forces the unsupported paint film over the gap to crack apart rapidly. To prevent early cracking and hide dark shadows, you must install a flexible, seamless joint filler across every seam before brushing your finish paint.
The Technical Execution Checklist for Trim Caulking and Filling
To achieve a clean, professional joint line that stands up to natural home movement, experienced painters rely on premium elastomeric acrylic latex caulk and high-strength wood fillers.
- Fill Structural Miter Joints with Hard Wood Filler: Pack all open wood-to-wood corner miters and recessed finish nail holes with a premium wood patch compound using a flexible steel putty knife. Overfill each spot slightly to account for minor drying shrinkage, let the compound cure completely, and sand it flat using a 220-grit block to blend the patch seamlessly with the wood profile.
- Cut Your Caulk Tube Tip at a Precise 45-Degree Angle: Snip the plastic tip of your elastomeric caulk tube near the top to create a small, 1/8-inch opening cut at a sharp 45-degree angle. This small slant lets you control the fluid flow precisely, matching the speed of your hand to the scale of the crack.
- Lay a Continuous Fluid Bead Along Drywall Junctions: Hold your caulk gun at a steady 45-degree angle against the wall-to-trim joint, glide the tip smoothly along the seam, and pull the trigger evenly to lay a thin, continuous bead of caulk without gaps or bubbling.
- Smooth the Wet Bead with a Clean Interface Finger Pass: Wipe down the wet caulk line immediately in one smooth, continuous motion using a damp, lint-free finger or a specialized smoothing tool, pressing the compound firmly into the gap and wiping away all excess material.
What Undercoats and Primers Lock Down Wood Tannins?
Why Solvent-Based Sealers Are Mandatory Over Raw Timber
Once your woodwork is completely clean, sanded, and caulked, you must select your primer base carefully if you are working with bare wood, new finger-jointed pine, or old dark finishes. Many homeowners mistakenly use cheap water-based latex primers across all woodwork because they want an easy cleanup. This decision leads to a major coating defect known as tannin bleed-through.
Natural timbers contain organic water-soluble acids called wood tannins. When you coat bare timber with a water-based primer, the water content inside the wet liquid dissolves these tannins instantly. As the undercoat dries, the dissolved wood acids travel directly upward through the wet film, creating ugly yellow, brown, or pink discoloration lines across your white trim. To trap these contaminants permanently, you must seal the timber using a dedicated solvent-based undercoat system, such as a white-pigmented shellac-based sealer or a premium oil-based alkyd primer. The solvent vehicle dries rapidly, blocking water-soluble molecules from traveling up through your final topcoats.
When Can You Transition Safely to Water-Based Acrylic Primers?
You do not always need to use a strong-smelling solvent primer for every trim project. If your home’s trim is already covered in an old, stable layer of water-based latex paint and you are simply changing the color code to a new neutral shade, you can safely skip the solvent undercoat.
Instead, you can utilize a high-hiding acrylic water-based primer to create a uniform color foundation across the trim work. The modern waterborne acrylic primer provides excellent coverage and builds a stable, non-porous layer that ensures your final topcoats achieve an exceptionally flat, uniform sheen from corner to corner. For complete home renovations, combining these detailed trim preparation steps with professional interior painting services across your main wall spaces helps establish a beautiful, high-end spatial flow throughout the home.
What Brush Techniques Eliminate Heavy Tracking and Lines?
Why Chiseled Synthetic Filaments Excel Over Natural Bristles
Achieving an immaculate, factory-smooth enamel look along door trim moldings requires utilizing professional interior trim painting tools. Standard low-cost retail paintbrushes built with stiff, untapered nylon or natural animal bristles are a prime cause of messy trim work. Coarse bristles apply uneven pressure across the wet film, cutting deep channels into the paint that remain permanently visible after drying.
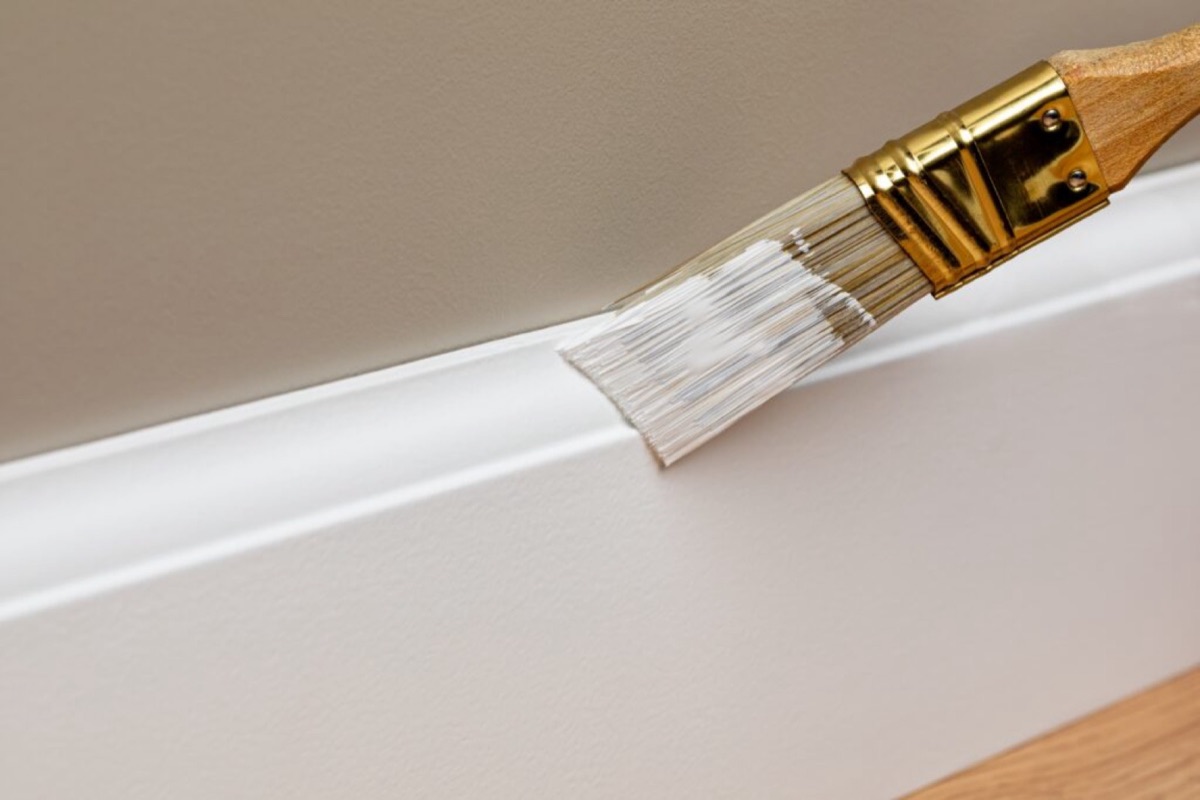
Professional painting crews select chiseled angled sash brushes manufactured with an advanced blend of chemically tipped nylon and polyester filaments. The synthetic strands are chemically tapered and flagged at the tips to hold a large reservoir of heavy trim enamel. This shape allows the brush to release the paint in a smooth, continuous layer under light pressure. The angled sash style allows the painter to guide the brush edge with absolute precision along tight corner moldings and delicate door casings without leaving track lines.
The Master Protocol for Unloaded Brushing and Leveling
Laying down premium trim enamels cleanly requires precise hand control and correct material loading. Trying to apply the paint in thick, single coats to speed up your timeline will cause the liquid to sag down vertical casings, gather inside corners, and ruin your finish.
Dip your angled sash brush exactly one inch into the enamel, tapping the flat face of the bristles lightly against the inner wall of your paint pail to remove loose drips without stripping the brush reservoir. Place the brush against the molding face and spread the liquid out along a two-foot section using long, smooth horizontal passes.
Once the paint is distributed, perform a final unloaded leveling pass. Lift your brush, hold it at a soft 45-degree angle without adding fresh paint, and glide the tip lightly over the wet section in one long, continuous brush stroke. This light pass flattens out any remaining wet ridges, ensuring the paint self-levels cleanly before the drying window closes, an essential field technique we outline in our master manual on eliminating paint roller tracks.
How Do United States Housing Styles and Climates Change Trim Work?
How Local Air Humidity Shifts Your Enamel Open-Time Windows
To ensure your interior trim transformation stands up to everyday wear, you must align your application steps with the climate conditions of your region. Buildings across the United States handle completely different types of indoor air balances depending on local weather patterns, humidity shifts, and seasonal HVAC use. These environmental factors directly change how your coatings dry and how your tools behave.
In humid coastal regions or during sticky summer months, high moisture levels in the air slow down the water evaporation process. Modern urethane acrylic trim enamels require water evaporation to jumpstart their chemical cross-linking process. In damp environments, this evaporation slows down dramatically, stretching your dry-to-recoat window from a standard four hours to eight hours or more.
Conversely, in dry desert climates or inside homes running artificial heating during harsh winter freezes, the indoor air is incredibly dry. This low humidity draws water out of wet coatings very rapidly, requiring installers to work quickly to keep their wet edge workable and prevent visible brush track lines.
How Architectural Age and Style Direct Material Selection
The age and building style of your home play a major role in your overall preparation choices and material budgets. Older historic homes across the United States often feature traditional solid wood trim profiles made of oak, fir, or walnut rather than modern medium-density fiberboard (MDF) moldings. These historic wooden details are valuable architectural elements, but they frequently require extensive repairs, hole filling, and deep cleaning to remove decades of built-up oil finishes and amber varnishes.
When preparing a historic property for the market, maintaining an authentic wood profile look helps maximize buyer appeal, a high-yield strategy we analyze in our real estate guide on what paint colors increase home value. For modern homes with large open-concept layouts, your trim paint application must be flawless because long baseboards flooded with sunlight from large windows will easily reveal every single minor bump or uneven texture.
Using proper sanding, premium primers, and dedicated trim enamels is the only way to ensure your woodwork looks beautiful and uniform under intense natural light, a professional standard we provide through our comprehensive national cabinet painting service and trim restoration lines.
Architectural Trim Coating System Performance Index
Review this database reference matrix to match your specific interior woodwork materials with the correct professional primers, topcoat paints, and tool configurations required to prevent system failures.Trim Material ProfilePrimary Substrate DefectRecommended Primer SystemRecommended Topcoat PaintOptimal Brush SelectionRaw Finger-Jointed PineActive Timber Tannin BleedOil-Based Alkyd PrimerUrethane Acrylic Enamel2.5-Inch Nylon/PolyesterMedium Density FiberboardExtreme Edge Fluid SuctionHigh-Solids Acrylic PrimerWaterborne Acrylic Urethane2.0-Inch Firm PolyesterOld Glossy Alkyd TrimLow Mechanical TractionSolvent-Based Bonding PrimerUrethane Acrylic Enamel2.5-Inch Angled ChiseledFactory Finished VinylLow Chemical AdhesionHigh-Adhesion Acrylic SealerWaterborne Acrylic Urethane2.0-Inch Soft Nylon BlendWeathered Brick FireplacesPorous Surface AbsorptionAlkali Resistant Masonry PrimerHeavy-Duty Satin Acrylic3.0-Inch Flat Hog Bristle
FAQs
Can you use standard interior flat wall paint to coat wooden baseboards?
No, you should never use standard flat or eggshell wall paint to coat wooden baseboards, door casings, or window sills. Wall paints are engineered to be highly flexible and porous so drywall can breathe, but they lack the physical hardness required to resist vacuum impacts, scuffs from shoes, and oil handprints. Using wall paint on high-contact trim work will cause the film to soften quickly, turn sticky around door jambs, and peel away easily when wiped with damp cleaning rags. Always use a dedicated urethane acrylic enamel or a specialized waterborne alkyd trim paint.
Why does premium painter tape sometimes rip fresh paint off the walls?
Premium painter tape will rip fresh paint off your walls if the tape was left on the trim for too long after application, or if the underlying wall paint suffered from weak adhesion. If you allow your new trim enamel to dry and cure completely over the tape edge, the acrylic resins will form a continuous plastic sheet across the tape line. Pulling the tape away later will tear the paint film along the wall. To prevent this, always pull your painter tape away while the final coat of paint is still slightly wet, pulling at a sharp 45-degree angle.
Do you need to apply a separate clear coat over painted baseboards?
No, you do not need to apply a clear polyurethane or varnish topcoat over high-quality painted baseboards. Specialized professional trim enamels, such as modern urethane acrylic waterborne coatings, are chemically engineered to dry into an exceptionally hard, non-porous, and scratch-resistant layer on their own. Adding a clear retail clear coat over the dried enamel is unnecessary and can cause yellowing, cracking, or adhesion failures if the clear chemicals interact poorly with the underlying paint resins.
How do you fix sticky doors that fuse permanently to their painted frames?
Doors that stick and fuse to their frames after painting suffer from a common technical coating defect known as blocking. This problem happens when you use standard cheap latex paint on door jambs, or when you close the doors too quickly before a premium enamel has finished its initial curing cycle. To fix blocking, sand the sticky edge sections flat with 220-grit sandpaper, apply a thin coat of a dedicated non-blocking trim enamel, and let the paint dry completely for a minimum of 24 to 48 hours before closing the door under pressure.
What is the maximum square footage a standard quart of trim paint can cover?
Under standard application conditions on a smooth, non-porous surface, a single quart can of high-quality trim enamel will cover roughly 100 to 125 square feet per coat, which translates to about 200 to 250 linear feet of standard four-inch baseboard molding. If you try to stretch a quart can past its coverage limits, the dry paint film will be too thin to protect the wood. Spreading paint too thin leads to visible brush track lines, poor washability, and an uneven sheen finish that will require extra material to fix.
According to technical research certified by the Painting and Decorating Contractors of America (PDCA), achieving an exceptional, durable finish on architectural woodwork requires strict adherence to manufacturer preparation standards and drying timelines. Ready to completely upgrade your home cabinetry, baseboards, or doors with a premium, high-performance finish applied by a highly trained crew? Reach out to the expert national team at That 1 Painter today by visiting our main service page to schedule your detailed, obligation-free on-site project estimate, and give your property the beautiful, long-lasting protection it deserves.